Week 6: Trim Sheets and More Modularity
- Jack Ferrari
- Mar 1, 2024
- 2 min read

Updated: Mar 25, 2024
THE NINTH STEP
This week started with me organising the definitive modular elements of my project. This was because the modularity of my buildings wasn't precise or snapping together correctly, mostly due to many of my elements being individually edited to fit. Whilst what I originally had setup was a good start for more simplistic builds there wasn't any standardised sizes etc...
To ensure I was creating an efficient setup I watched a couple videos on YouTube:
Kurt B [1]
Matthew Marquit [2]
Following these I actually started using MAYA's various perspective modes, (previously an accidental annoying button press menu) would be invaluable for snapping elements to a grid.
Whilst every element went through some form of overhaul the standardisation was:
Each "Full" part was 300x300, each trim element was also made 300 wide to correctly snap to any desired part. I also created a half width wall and 100x300 for any minor changes in height (overall enabling for a greater variety of modular building creations)

Modular Elements: Arranged in MAYA
The next part of this week was exploring the application of Trim Sheets, following along with the murals I duplicated and split up my shop into parts that could become trim. Once this was done as instructed laid them out over a 400x400 plane for the baking process in Substance Painter.
Giving each a colour will allow for masking of elements, thus unique materials can be placed without needing various sets/ models which would defeat the point of having a single texture that can be applied to many assets.

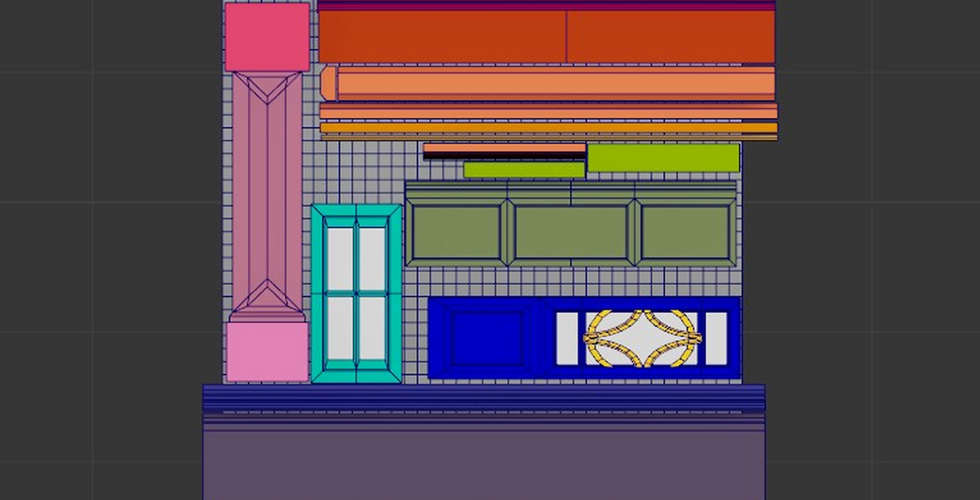


Trim Sheet Tests: MAYA & Substance Painter
Once baked in Substance I created some basic textures (Wood, Metal and Stone)
Overall this was a fine exploration of the concept but the inefficient use of my actual sheet having many gaps and only 2 examples of tiling elements. In addition whilst very organised and "pretty" the colour choices meant there was lots of elements that became all the same material which was unwanted and overall was an unnecessary waste of time. Leading the the eventual creation of a second sheet which I feel will be more applicable to a wider array of assets.
Whilst I understand the application and usage of trim sheets in theory I haven't quite grasped how they can be applied to models and thus properly utilised.
Required Life Drawing Session

www.youtube.com. (n.d.). Modular Modeling and Assembly Tips and Tricks. [online] Available at: https://www.youtube.com/watch?v=kTQqVNh1REk&list=PLi0aYT6d6eulVO2BwwCRRBJqX4SJTeJ0M&index=28&t=44s&ab_channel=KurtB [Accessed 26 Feb. 2024]. [1]
www.youtube.com. (n.d.). 3D Modular Building Concepts. [online] Available at: https://www.youtube.com/watch?v=5bY3mmBunpo&t=801s&ab_channel=MatthewMarquit [Accessed 26 Feb. 2024]. [2]


Comments